The Yoshi
A Yoshi as it was called in the 90’s, is a rig that can play any video game. When the term was used in the 90’s it often meant a complex system of consoles stacked on top of each other using the same ports for video and audio. The end result of which was a giant box of video game consoles that you turn on and insert cartridges/discs into according to what system you wanted to play, these giant systems would cost as much as the consoles, their controllers, and the games; so the price to build one was anywhere from $500 to $1500.

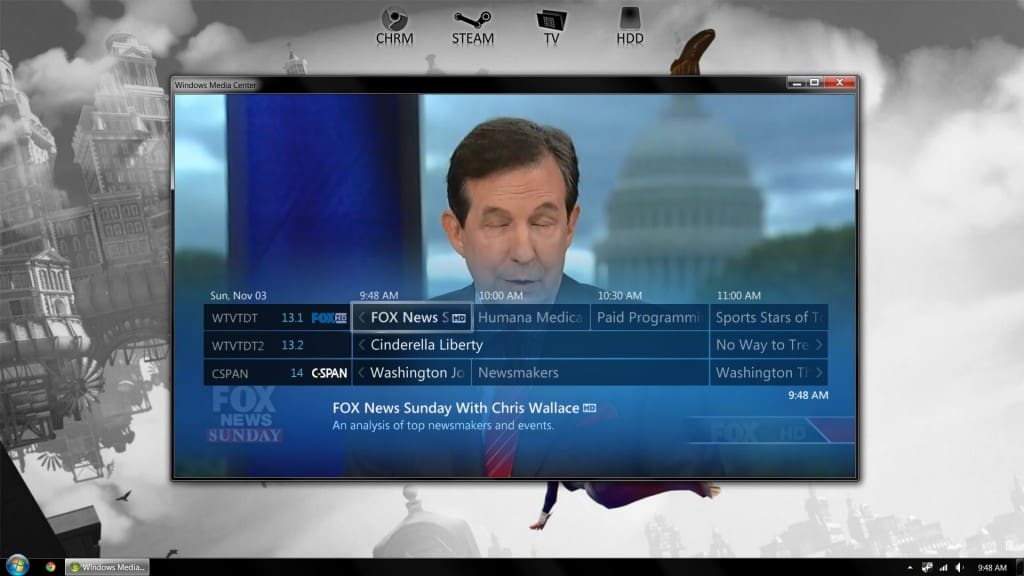
Today, the same thing can be accomplished with a single computer running windows; total cost being anywhere from free to $50 for cables, many people run these systems but not many take the time to explain how, so here is a simple tutorial.
What you will need
- Gaming PC (budget could work)
- TV that supports HMDI or a DVI/VGA connection
- HDMI/DVI/VGA cable long enough to reach from your computer to your TV.
- Wireless Xbox 360 Controller for Windows (or any usb gamepad)
- Emulators (whichever consoles you want to play)
- Image Mounting software (alcohol, daemon tools lite, etc)
Optional
- Wireless Bluetooth keyboard/mouse (for internet browsing on TV)
- Sound extension to run sound from computer to TV (If not using HDMI)
- USB extension if you went for the cheaper and lighter non-wireless controllers
Getting Started
Check the video card in your computer to make sure it can support HDMI, if not check your TV and see if it supports DVI/VGA connections, chances are one of the two will have what you are looking for, however HDMI is recommended for best video quality. Once you figure out what type of video connection you will be running, the next thing to do is order it, try amazon, got my 15ft HDMI for $4; don’t forget to order the other needed stuff if you don’t have it yet already. If you are setting up a computer next to your TV, you obviously will NOT need wires as long.
Once you have the computer successfully connected, power it up and wait for it to load, the first thing you want to do is to change screen resolution so it at least looks right on the TV, in my experiences lower resolution is better for bigger, however a lot of the newer LCD models are 1080p and can support 1920×1080 resolution, if it looks right when you try it, than go ahead and use it. Either way you should use the resolution that says “Recommended” next to it by Windows, its one of the only things I trust Microsoft’s judgement on.
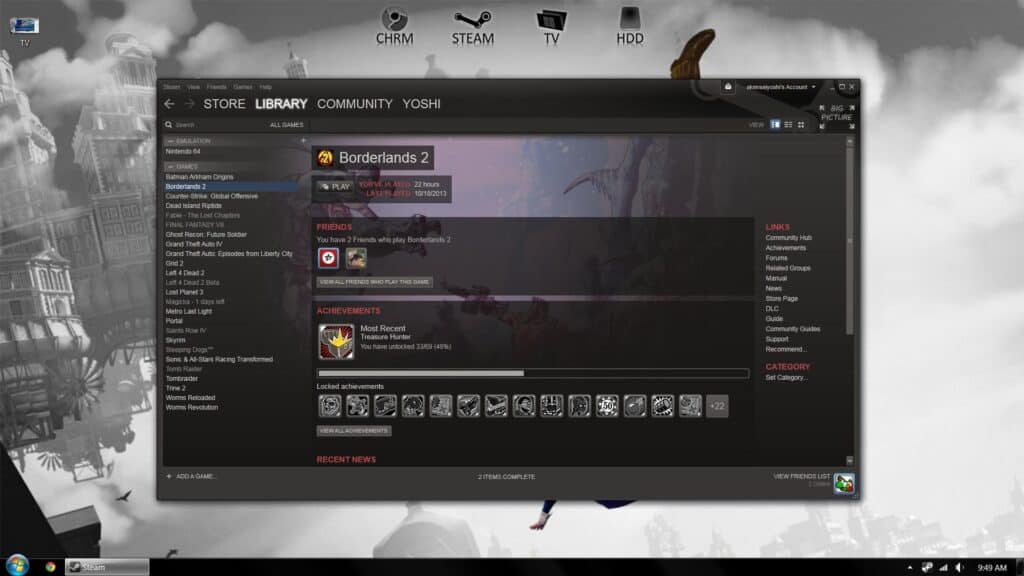
Playing PC Games with controller on TV
Most newer games are very easy to play on a giant screen w/controller already, just check to see if there is a “controller” option and activate it when you find it, games like Call of Duty: Modern Warfare 2 come predefined with the Xbox 360 controls. You may be thinking, “Why do that when I have an Xbox/PS3?” Well, I hate to be the bearer of bad news, but PC graphics are about 3x better than consoles are at the moment, if you want to have the best graphics, use your computer, if you don’t mind, use your console.
The big thing about PC games on a larger screen is setting the resolution correctly, to be safe most TV’s made in the last few years have at least 720p abilities, so if you are unsure what to use as a resolution for both the game and the monitor, select 1280×720.
Nintendo 64 and Older (Non-Disc Consoles)
I actually started doing this just because I wanted to play Zelda: Ocarina of Time without using a stupid keyboard, and I’m sure there are a ton more looking for the same thing. First off download a N64 Emulator, I suggest Project64.
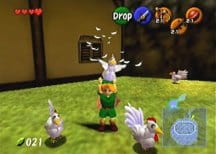
Install the Emulator of your choice than Google, for example, “zelda n64 rom”, eventually you will find one, download it and unzip/unrar it, start the emulator and load the file. At this point, what you want to do first is configure the controller, check out the “Controller Setting” menus if you are running Project64, it’s as easy as assigning hotkeys.
Once you have the controller set to your liking you may want to play with the audio/video settings to get the right feel for things, after you have that ready to go just click “Full Screen” (Project64) and enjoy! This applies to Nintendo 64, Game-Boy Advance, NES, NDS, etc…
DreamCast/PlayStation/Xbox (Disc Consoles)
As an example, I will be using the game Shenmue for the DreamCast for this tutorial. Download a DreamCast Emulator, I use Chankast (This link includes bios/boot). Now what you are going to need is a image mounting program, the best free one that I use is Daemon Tools Lite. Install Daemon Tools Lite, once it’s done run it and click Device0 (the first virtual drive), select Shenmue CD1, and mount it.

Next, open up Chankast and go to Options > Configure Drive, and select the drive letter you just mounted the Shenmue Disc1 to. Again, just like with the older consoles, you may want to configure your controller now, just as easy as it is for the N64, once you are done with that you can run the game with Run > Start in Chankast. Lastly, just go to Options > Configure Video > Video Mode > Full Screen and enjoy your game session!
Conclusion
This is really all you need to know in order to get yourself started, fortunately, all emulators are virtually the same in terms of user interfaces, so once you figure out the first one, it wont take you long to figure out the rest. I highly suggest getting the no$gba emulator (it plays GBA and NDS roms), something about 47 inch Pokemon diamond that makes it better, plus the fact you get to play with a controller helps a bit, I hate playing games with the stylus.
The only real important thing to do is to make sure you have the right resolutions for your TV, in my case its 1280×720 (720p) in most cases, seeing how my TV is a few years old, yours could be 1080p; just check first and make sure the setup will work for you, if you try this setup do me a quick favor and leave a comment if you have any troubles or anything, I’m more than happy to help out.
Sound is sent along with HDMI as long as you have the correct video card drivers, I have ATI cards throughout every system I own, so I know that this ATI HDMI driver is the correct one for sound to be sent along with video. Remember to unplug your PC speakers if you plan to use sound through HDMI.
USB Controller
Most windows games as well as a lot of the emulators have options to setup a controller (in my case Xbox 360), however some of them, including DreamCast emulation do not have options in place to configure a controller. If you run into this problem the best advice I can give is to get Xpadder. Setting up Xpadder is pretty straight forward, just play around with the settings until you get the hang of it. You can also use Xpadder to setup your controller to be used as a makeshift mouse, using an analog stick as a mouse is kind of strange at first, but you get the hang of it; I use mine to browse YouTube, Google, etc…
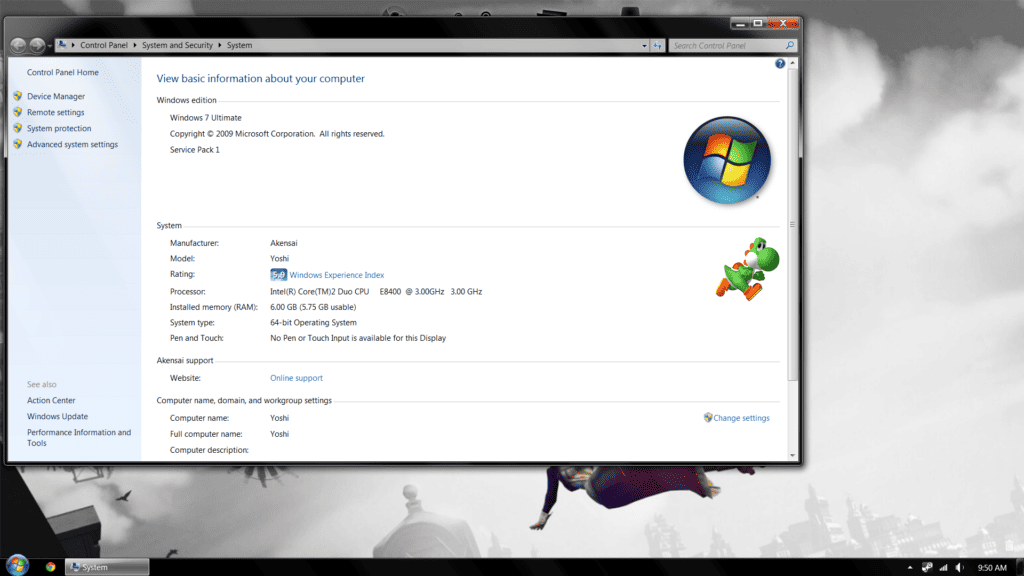
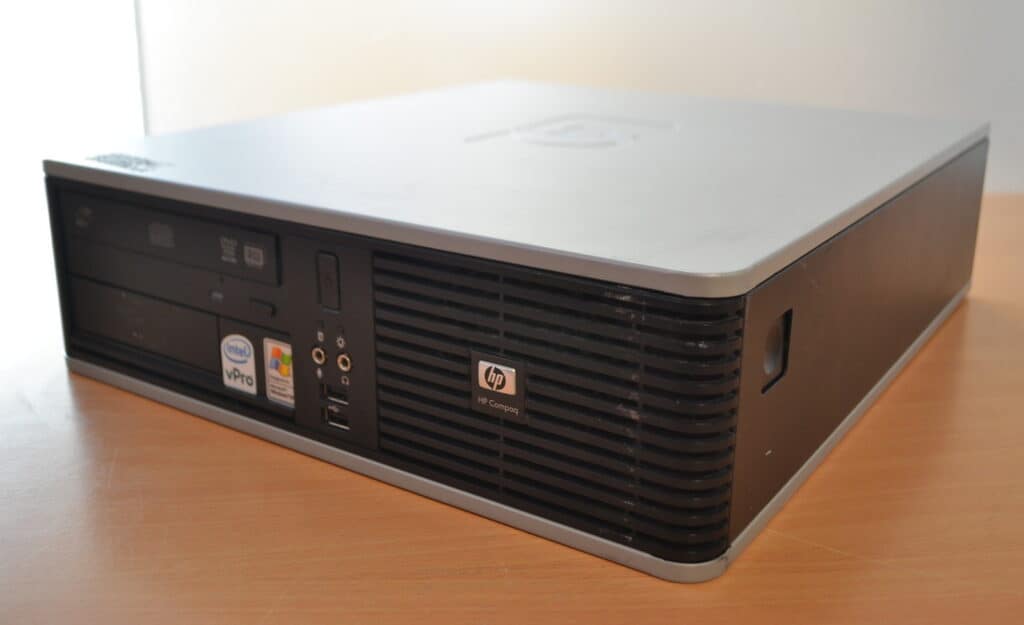
Due to High Demand (stop emailing me!), here is my setup:
2x 3.0ghz (SFF Business PC)6gb DDR2 1333mhz (had laying around)WD Blue 1tb 7200RPM 64mb cacheIOGEAR Wireless Keyboard with TrackballSapphire Radeon HD 7750 (Low Profile) (Skyrim @ Ultra = 50-70 FPS)Wireless Xbox 360 Controller for Windows w/hub (Lot of steam games are 4 player local now)KWorld USB TV Tuner (Bunch of alternatives, but I like this one best)
DEPRECIATED!
Upgraded specs:
- Silverstone TEK GD05B Case
- Intel i7-4790k
- nVidia GTX 980 (ACX)
- Samsung Evo 850 250GB (OS)
- WD Caviar Black 3TB (Games) GTA V @ 120FPS (Maxed)
Software
- XPadder (Controller Setup for Emulators)
- NullDC (DreamCast)
- PSCX2 (Playstation 2)
- Project 64 (Nintendo 64)
- NO$GBA (Nintendo DS / Gameboy Advance)
- Dolphin (Gamecube/Wii)
- JNES (Nintendo Entertainment System)
- ZSNES (Super Nintento)
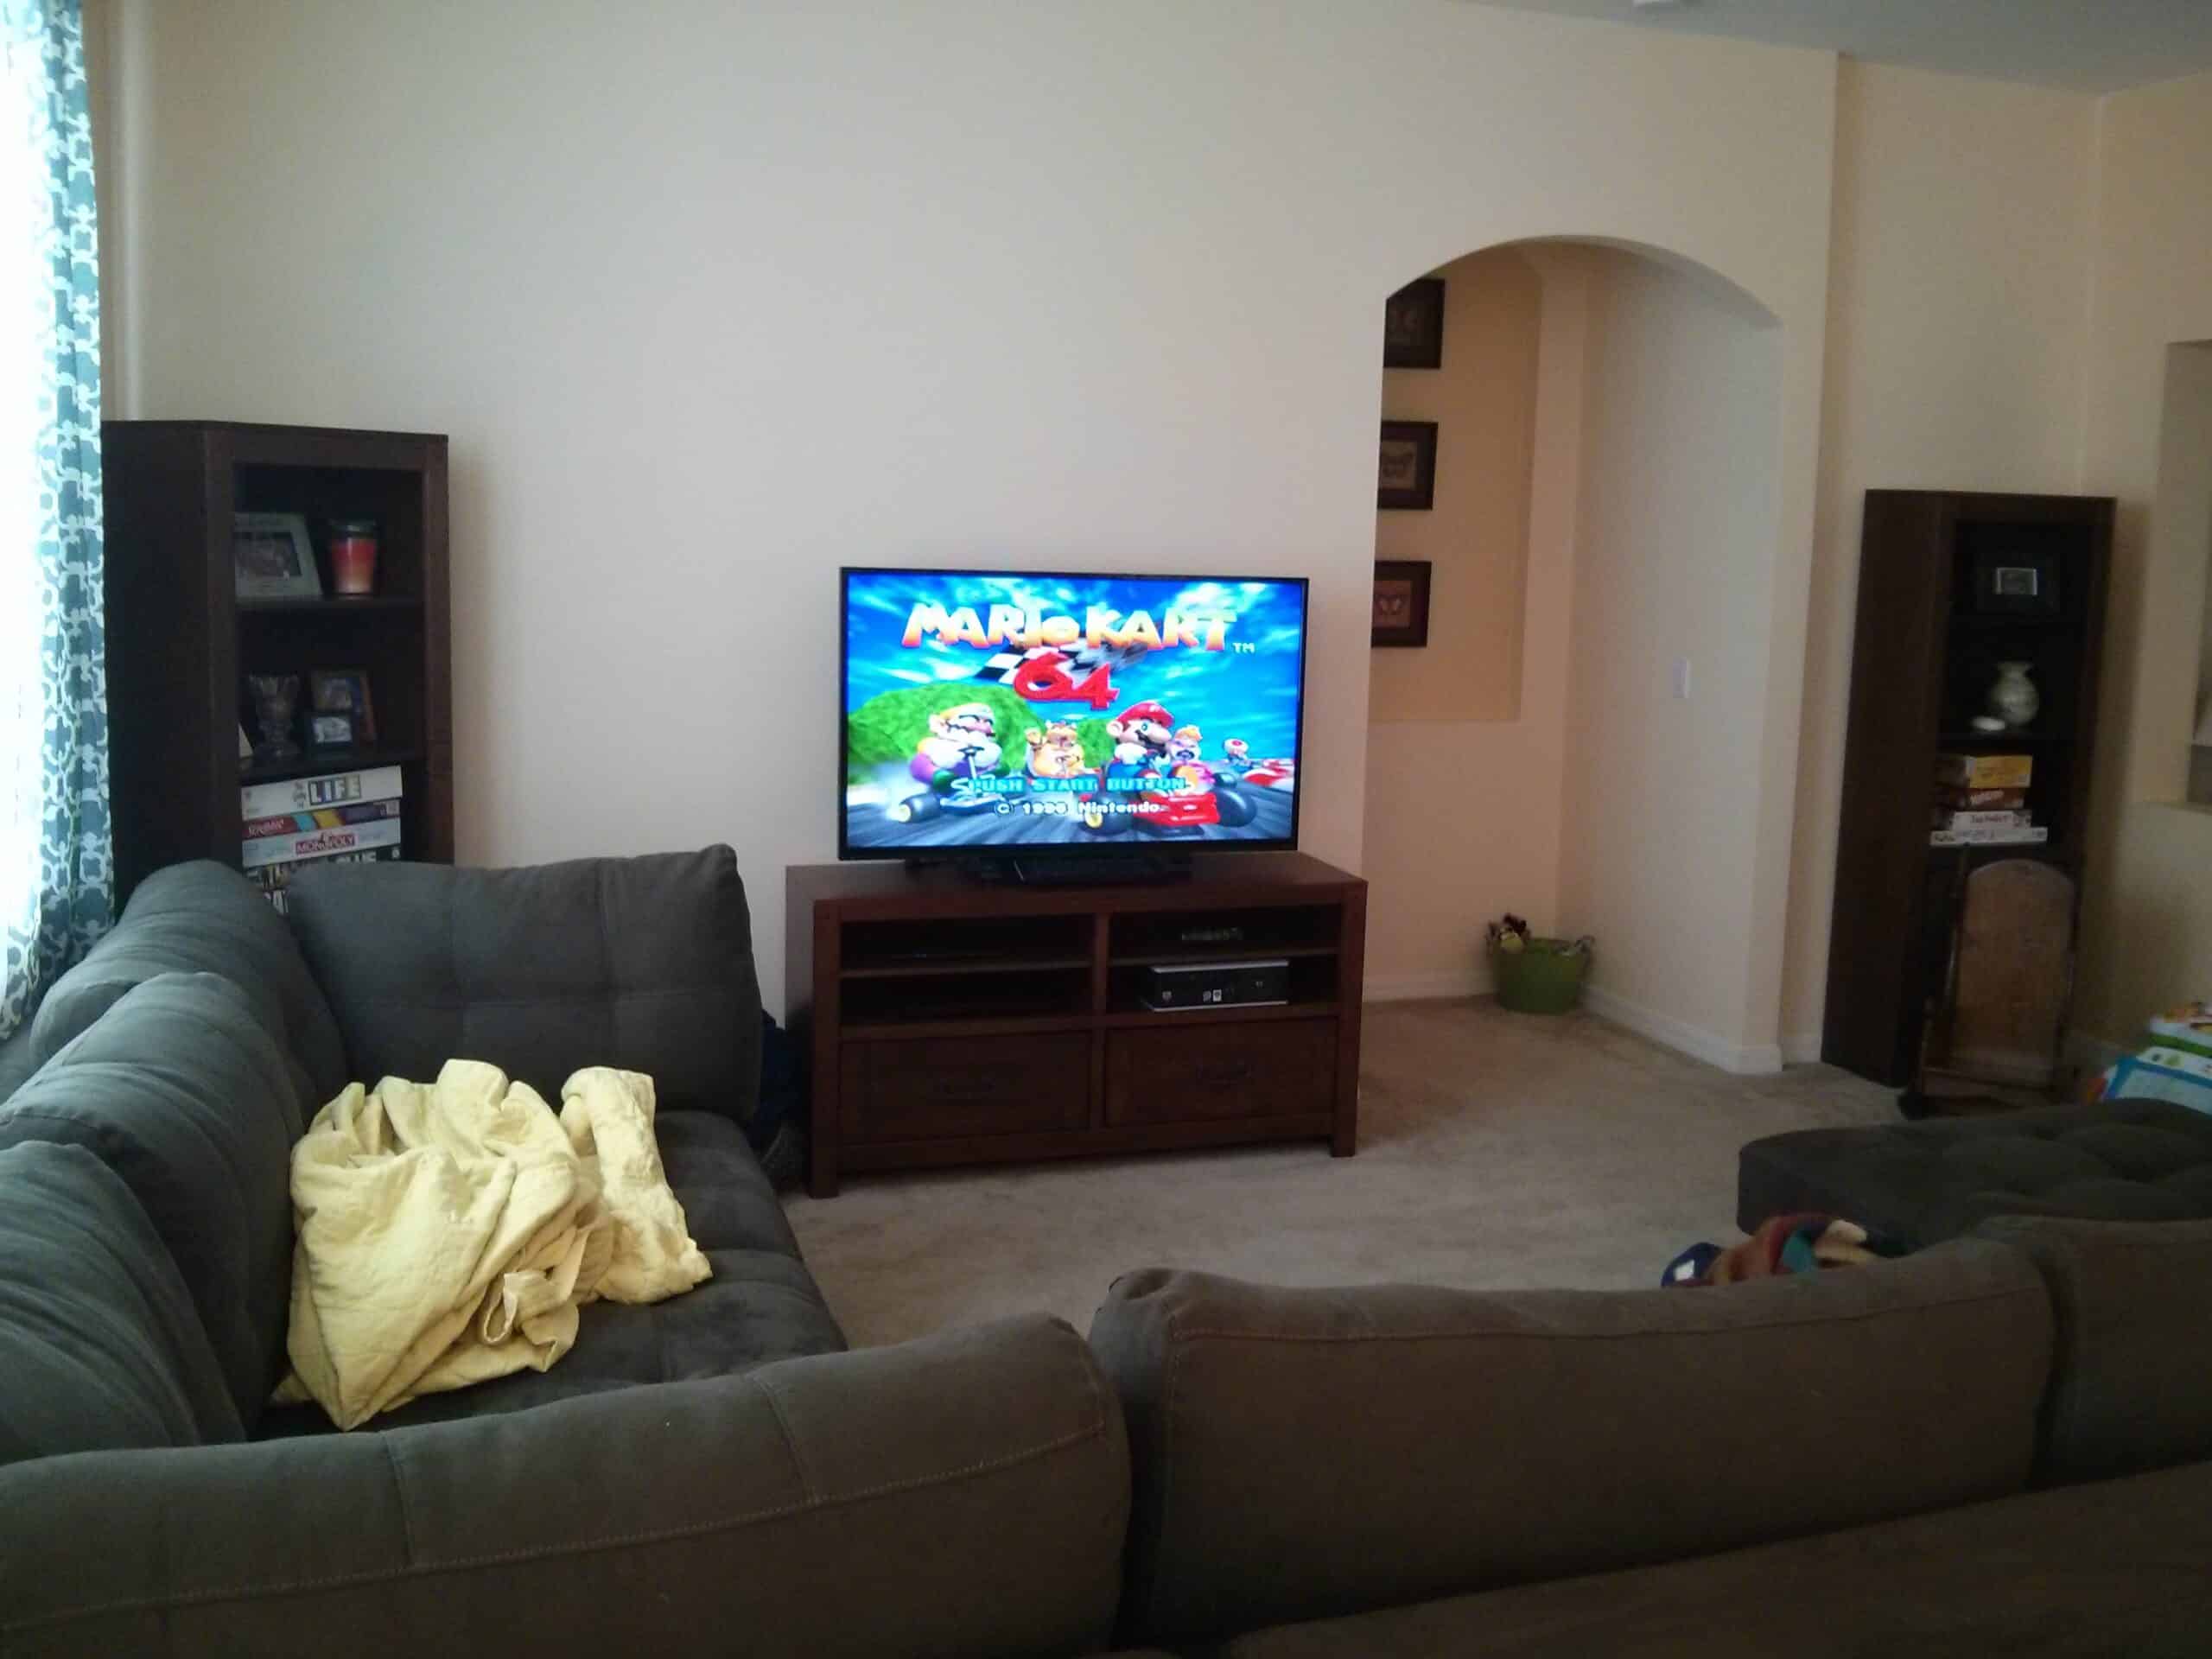
Pictures